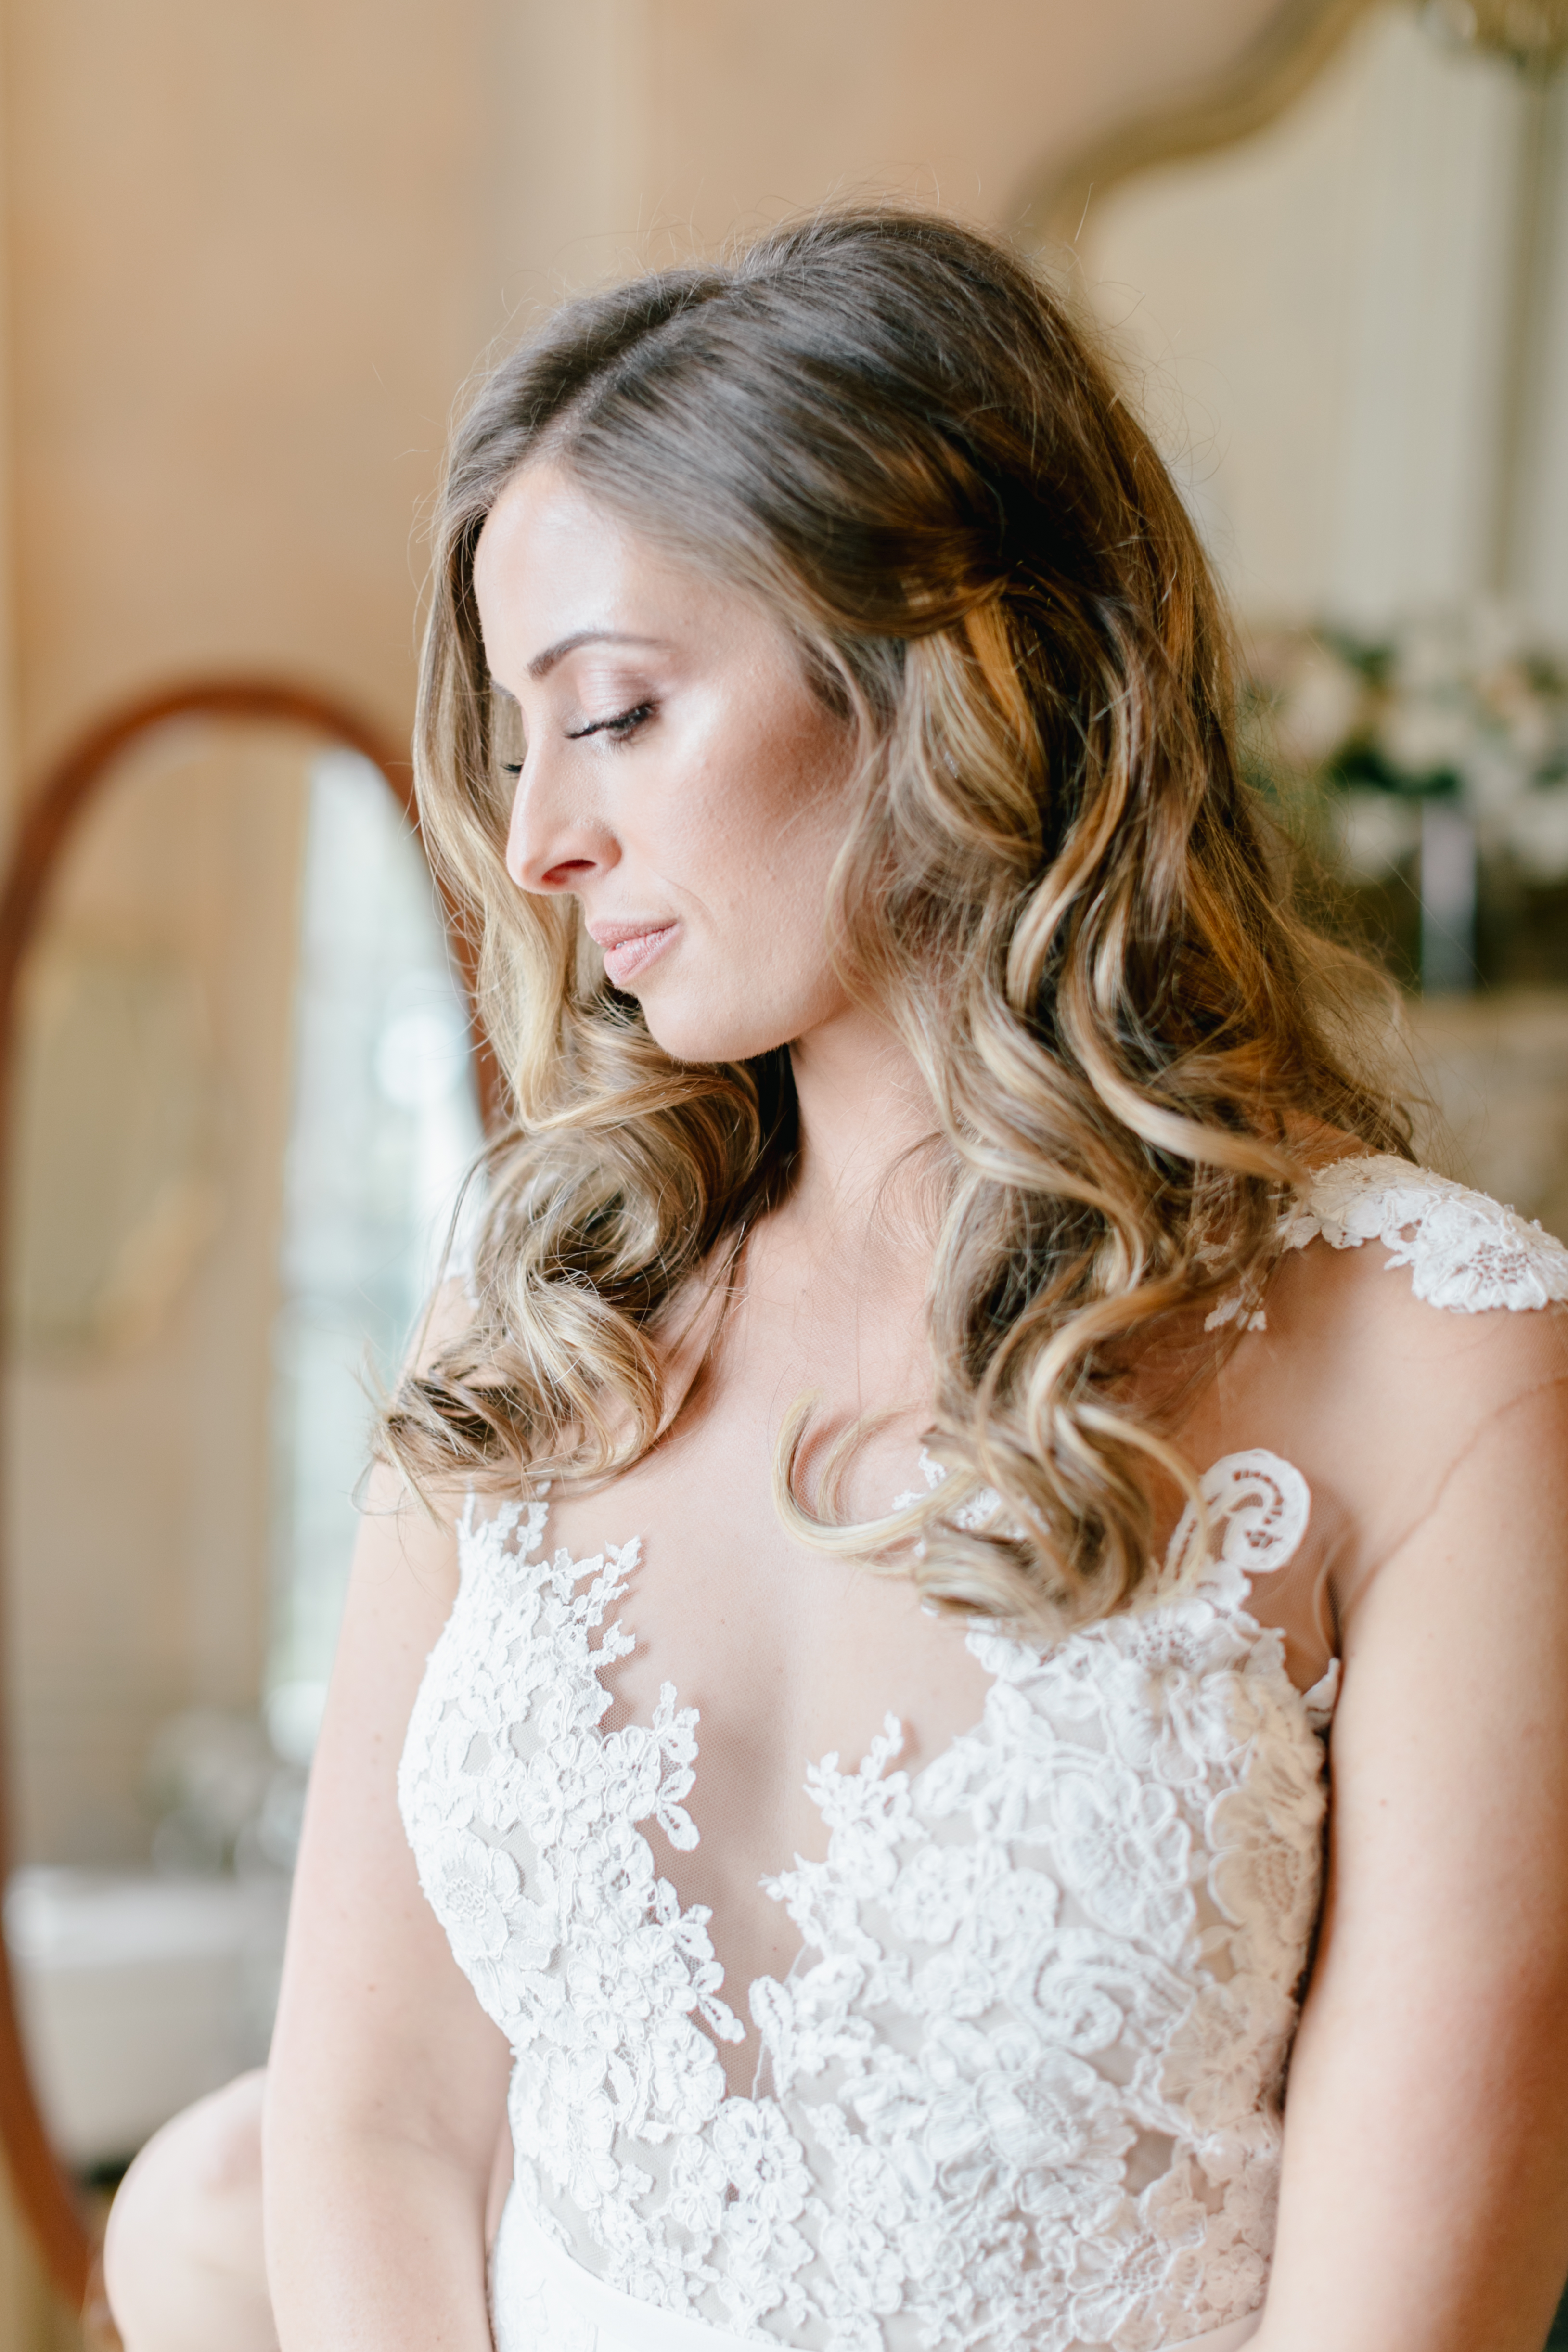
Looking great on camera doesn’t require having a very dramatic look, but professional makeup tips help. Even if you prefer a natural look, the camera tends to exaggerate flaws and create artificial ones. Who needs that? These camera-friendly makeup tips focus on makeup application that enhances rather than detracts from your looks.
- Skin, The Canvass: Before you apply makeup, start with prepping your skim with a nice toner (my favorite one is P501970 by Biologique Richerche), then apply a moisturizing mask and don’t forget about moisturizing your skin. If necessary, give yourself a facial or scrub treatment, one day before your engagement shoot. This minimizes uneven or artificial looking makeup application and promotes a healthy, glowing look.
- Minimize Shadows: As photos are two-dimensional, the camera ages the subject by enhancing dark, fine lines and wrinkles. To compensate, gently apply a lighter shade of concealer makeup to darker areas: around the eyes, crevices and expression lines. Next, using an upward stroke, apply a light layer of foundation makeup over the face including lips. Blend makeup at the edges. Except for corrective work, use foundation makeup colors closely matching the natural skin color.
- Bronze or Blush: Various makeup effects can be achieved with blush. Bronzer makeup powder is widely successful and produces a natural or lightly sculpted look, depending on its application.
- Apply powder blush: blow off excess from the brush and apply lightly to cheekbones and above the outer corners of eyes to the temple. For a makeup application guide, make a wide peace sign with a hand. Rotate 90 degrees towards your nose. Palms out, place the point of the “V” at your hairline and align with the corner of your eye and the bottom finger resting on the cheekbone. Focus color at or one finger below this area on the cheek, and at or above this area around the eyes. Apply a second thin layer on checks and blend lightly at edges as needed.
- Bronzer: makeup can also be applied along the sides of the nose to minimize width. And, a darker shade of blush applied under the cheekbones produces more definition.
- Eyes and Lines: Unless you like the look, or have the eyes for it, avoid harsh lines, or the raccoon look, it makes the eyes look smaller and deeper set. Try a smoky-colored eyeliner pencil, and smudge a bit if necessary. With liquid eyeliner, an option is to dot the eyeliner next to the eyelash base rather than create a solid line. For a different look, limit liquid eyeliner application to the top eyelid and/or the outer corners of the eyes. Smoky eye shadow applied above the eyelids and blended with the outer corners of the eyes also creates a desirable effect; a highlighted brow area enhances this effect.
- Lips: Most lips benefit from definition, even when lipstick is not generally used. For a natural but polished look, try a shade or two darker than your lip color, apply lip pencil, smudge lips a bit and apply a little gloss, or lipstick. Apply a lighter lip color or gloss only to the center of lips to enhance a pouty look.
- Powder: When Not to Shine: Apply a light dusting of translucent powder over your face to avoid shine and set makeup. Concentrate on the T-zone as necessary, and apply sparingly to lined or dry areas.
- Eyebrows: Before applying makeup ensure that the eyebrows are properly shaped as they affect facial expression.
- Red Eyes: To brighten the whites of the eyes and minimize redness line the inner lower eyelid with a white eye pencil.